


Every dental visit relies on instruments that were used on another patient only hours earlier. Here is how a well run dental practice cleans, packages and sterilizes those instruments, what the little pouches on the tray actually mean, and the simple questions any patient can ask about infection control.
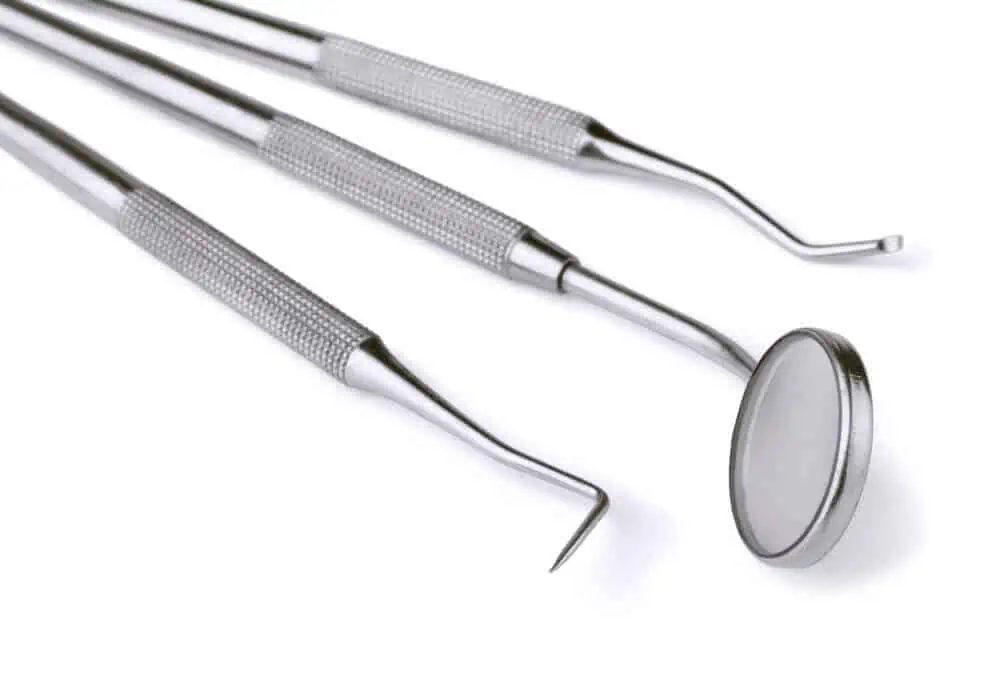
Sitting in the dental chair, most patients notice the gloves, the mask and the bright overhead light. Fewer think about the mirror, probe and scaler laid out on the tray, or where they were an hour ago. Dental instruments are reused many times, and the process that makes them safe for the next patient happens out of sight, in the practice’s sterilization area.
That process is one of the most important safety systems in dentistry. Understanding it can help patients feel more confident and recognise the signs of a practice that takes infection control seriously.
Why dental instruments need sterilization
Many dental procedures involve contact with saliva and blood, and some instruments penetrate soft tissue or bone. Without proper reprocessing, instruments could carry bacteria and viruses from one patient to the next. The Centers for Disease Control and Prevention (CDC) classifies instruments by risk. Critical items, such as surgical instruments, scalers and burs, penetrate tissue and must be sterilized after every use. Semi-critical items, such as mouth mirrors and impression trays, touch mucous membranes and should also be sterilized whenever they can withstand heat (Kohn et al., 2003).
Step 1: Cleaning comes first
Sterilization only works on clean instruments. Blood, saliva and debris can shield microorganisms from heat, so the first step is removing all visible contamination. Most modern practices use an ultrasonic cleaner, which sends high frequency sound waves through a cleaning solution to dislodge debris from hinges and serrations. Some use automated instrument washers similar to a dishwasher designed for clinical use. Hand scrubbing is the least preferred method, because it increases the risk of sharps injuries to staff.
After cleaning, instruments are rinsed, dried and inspected for remaining debris or damage.
Step 2: Packaging
Clean instruments are placed in sealed sterilization pouches or wrapped cassettes before they are sterilized. Packaging keeps them sterile after the cycle ends, until the moment they are opened for the next patient. Many pouches have a chemical indicator strip that changes colour when exposed to the right sterilizing conditions.
For patients, this is one of the most visible signs of good practice: instruments should come out of a sealed pouch or cassette that is opened in front of you, not from an open drawer.
Step 3: Heat sterilization in an autoclave
The workhorse of dental infection control is the steam sterilizer, commonly called an autoclave. It works on the same principle as a pressure cooker. By raising the pressure inside a sealed chamber, it allows steam to reach temperatures well above boiling, typically 121 to 134 degrees Celsius (about 250 to 273 degrees Fahrenheit). Steam at these temperatures kills bacteria, viruses, fungi and the highly resistant bacterial spores that survive ordinary disinfection.
Dental practices generally use benchtop autoclaves. The most capable models use a vacuum pump to remove air from the chamber before steam enters. This matters because trapped air can stop steam from reaching the inside of hollow instruments, such as dental handpieces. These pre-vacuum units are often described as Class B autoclaves under the European standard EN 13060, and they are widely regarded as the best choice for wrapped instruments and handpieces.
Clinics that are setting up or replacing equipment can choose from new units or certified pre-owned steam autoclaves from established manufacturers. Whatever the source, the unit must be validated, maintained and tested regularly.
Step 4: Proving it worked
A sterilizer that looks like it is working is not enough. The CDC recommends that dental practices monitor sterilization in three ways (CDC, 2016):
- Mechanical monitoring: checking the time, temperature and pressure readings for every cycle.
- Chemical indicators: strips or inks on each package that change colour when the right conditions are reached.
- Biological indicators: spore tests, run at least weekly, which contain highly resistant bacterial spores. If the spores are killed, the sterilizer is working. If they grow, the sterilizer is taken out of service and the problem is fixed before it is used again.
Practices keep records of these tests, and many dental boards inspect them.
Step 5: Storage and use
Sterilized packages are stored in a clean, dry area and checked before use. A torn, wet or dropped package is reprocessed. Packages are opened at the chairside, just before treatment begins.
What about single-use items?
Some items cannot be safely reprocessed and are discarded after one patient. These typically include needles, saliva ejectors, many prophylaxis cups and some burs. Gloves, masks and patient bibs are also single use. Surfaces such as the chair, light handles and countertops are cleaned and disinfected between patients, or covered with disposable barriers.
Questions patients can ask
Patients are entitled to ask about infection control, and a good practice will be happy to answer. Useful questions include:
- How are your instruments sterilized between patients?
- Do you use spore testing to check your sterilizers, and how often?
- Are instruments opened from sealed packages in front of the patient?
- Are handpieces (the drills) sterilized after every patient?
The last question is especially worth asking. According to the CDC, dental handpieces should be heat sterilized between patients, not simply wiped down (CDC, 2016).
The bottom line
Modern dental infection control is a carefully designed chain: cleaning, packaging, sterilization, testing and safe storage. When every step is followed, the risk of infection from dental instruments is extremely low. Patients do not need to be experts to recognise good practice. Sealed instrument packages, fresh gloves, clean surfaces and a team that answers questions openly are all reassuring signs that your safety is taken seriously.
References
Centers for Disease Control and Prevention. (2016). Summary of infection prevention practices in dental settings: Basic expectations for safe care. U.S. Department of Health and Human Services.
Kohn, W. G., Collins, A. S., Cleveland, J. L., Harte, J. A., Eklund, K. J., & Malvitz, D. M. (2003). Guidelines for infection control in dental health-care settings, 2003. MMWR Recommendations and Reports, 52(RR-17), 1-61.