


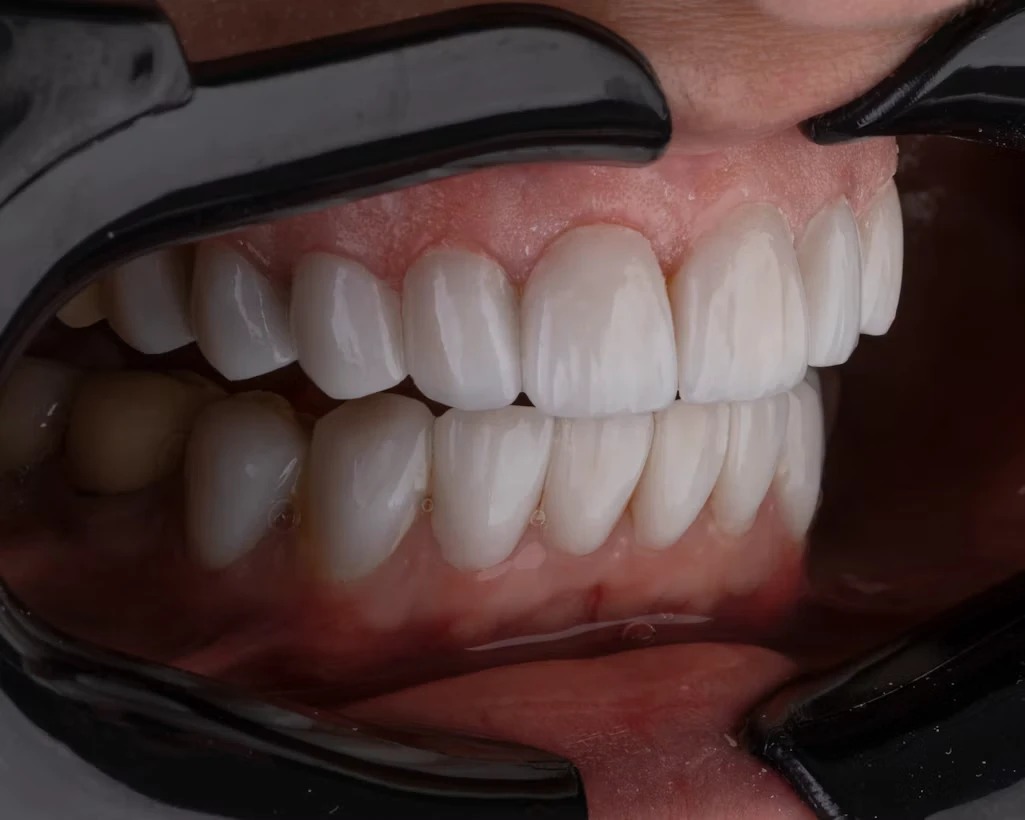
In front of a camera, your smile does a lot of work. It can soften a serious look, bring warmth to a campaign image or carry an entire behind-the-scenes clip. So it’s no surprise that many models, actors, content creators and anyone else who spends time being photographed start thinking seriously about the colour of their teeth.
Whitening is one of the most popular ways to brighten a smile, and it can make a real difference. It can also go wrong. Teeth that are too white can look flat or slightly blue under studio lighting, rushed treatments can leave you wincing through a shoot, and some online hacks can do lasting damage to your enamel.
The good news is that a little planning goes a long way. Understanding your options, choosing the right shade and timing your treatment properly will help you get a result that looks natural in person and on camera.
It also helps to get professional input early. A dentist who offers cosmetic dentistry can look at your teeth, explain which treatments suit your situation, and point out anything whitening won’t fix, such as older fillings, chips or uneven edges. That conversation can save you time, money and disappointment further down the line.
Here’s what to know before you whiten.
Start With a Check-Up
Before thinking about shades, make sure your teeth and gums are healthy. Whitening products can irritate gums that are already inflamed and can cause discomfort if you have untreated decay, cracks or exposed roots.
A routine check-up and a professional scale and polish are a smart first step. A hygienist can remove surface stains and tartar, which on its own often makes teeth look noticeably brighter. Some people find that a thorough clean gives them all the lift they wanted, without needing to whiten at all.
It’s also worth knowing that in the UK and across the EU, stronger tooth whitening products can only legally be supplied through a dental professional, and they aren’t intended for anyone under 18. If you’re starting out in modelling while still young, focus on good daily habits and regular cleaning for now.
Professional vs At-Home Whitening
There are several routes to whiter teeth, and each has its place.
In-chair whitening
In-chair whitening takes place at a dental practice, usually in a single appointment. The dentist protects your gums and applies a whitening gel to your teeth, sometimes with a light to support the process. It’s the quickest way to see a change, which makes it appealing if you have a deadline. The trade-off is cost, and some people experience more sensitivity afterwards than with slower methods.
Dentist-supplied take-home trays
With this option, your dentist takes impressions or scans of your teeth and makes custom trays that fit closely. You then apply a whitening gel at home for a set period each day or night over a couple of weeks. Because the trays fit well, the gel stays where it should, and you have more control over how gradually your shade changes. Many dentists see this as a good balance of effectiveness, comfort and value.
Over-the-counter products
Whitening toothpastes, strips and pens are widely available and can help with mild surface staining. Results tend to be more modest and take longer, as products sold directly to consumers contain lower concentrations of whitening agents. They can be useful for maintenance between professional treatments.
Hacks to skip
Social media is full of DIY whitening tricks, from charcoal powders to lemon juice and baking soda pastes. Many of these are abrasive or acidic and can wear away enamel over time. Since enamel doesn’t grow back, thinning it can actually make teeth look more yellow as the darker layer underneath shows through. Unregulated kits bought online can also contain ingredients that irritate or burn the gums. If a product promises dramatic results overnight, treat it with suspicion.
Choosing a Shade That Works on Camera
Brighter isn’t always better. Very white teeth can look striking in person but artificial in photographs, particularly under flash or strong LED lighting, where they can appear chalky, flat or tinged with blue.
A useful rule of thumb many dentists use is to aim for a shade close to the whites of your eyes. This tends to look healthy and natural, and it harmonises with your skin tone rather than competing with it.
Consider the kind of work you do, too. High-fashion editorials and campaigns often favour a natural, lived-in look, while commercial and beauty work may lean slightly brighter. If you’re unsure, start conservatively. It’s easy to whiten a little further later, but much harder to tone things down once you’ve gone too far.
Bring a few of your recent photos or digitals to your dental appointment. Seeing how your teeth currently read on camera can help your dentist recommend a realistic target shade.
Timing Your Whitening Around a Shoot
Timing matters more than many people realise.
Avoid whitening in the days right before a shoot. Teeth can look slightly uneven or blotchy immediately after treatment, and any sensitivity may make you hesitant to smile freely. Many dentists suggest finishing whitening at least a week or two before an important booking, giving your teeth time to settle and the colour to stabilise.
If you’re using take-home trays, plan backwards from your shoot date so the full course is complete well in advance. If you’re having in-chair treatment, ask your dentist how long they recommend leaving before you’ll be in front of a camera.
For the 48 hours or so after whitening, most dentists advise avoiding strongly coloured food and drink, such as coffee, tea, red wine, curry and berries, as teeth can be more prone to picking up stains during this period.
Managing Sensitivity
Temporary sensitivity is one of the most common side effects of whitening. It usually feels like short, sharp twinges, especially with hot or cold drinks, and typically fades once treatment stops.
A few steps can help:
- Use a toothpaste designed for sensitive teeth for a couple of weeks before and during treatment.
- Follow application times exactly and never leave gel on for longer than instructed.
- Space out sessions if your dentist agrees, rather than whitening every day.
- Let your dentist know if discomfort is strong or lasts more than a few days.
If you already have sensitive teeth, mention this at your consultation so your dentist can adjust the approach.
What Whitening Can’t Fix
Whitening only works on natural tooth enamel. Crowns, veneers, bonding and tooth-coloured fillings won’t change colour, which means they can stand out once surrounding teeth are brighter. If you have restorations on your front teeth, plan with your dentist so any replacements can be matched to your new shade afterwards.
Whitening also won’t change the shape, length or alignment of your teeth, or repair chips and cracks. If something other than colour bothers you when you see your smile on camera, other cosmetic treatments may be more suitable. Composite bonding can repair small chips and reshape edges, while veneers cover the front surface of teeth to alter colour and shape together. These are bigger decisions with longer-term commitments, so take time to understand the options, ask about maintenance and replacement, and avoid rushing into anything just because a booking is coming up.
Keeping Your Smile Shoot-Ready
Once you’re happy with your shade, a few everyday habits will help it last.
Look after the basics. Brush twice a day with a fluoride toothpaste, clean between your teeth daily and keep up with regular dental and hygiene appointments.
Be strategic with staining drinks. You don’t have to give up coffee or matcha, but drinking water alongside them and rinsing afterwards helps. Using a straw for iced drinks can also reduce contact with your front teeth.
Carry a mini kit. A travel toothbrush, floss picks and a small bottle of water are worth keeping in your bag on long shoot days, especially between food breaks and before close-ups.
Stay hydrated. Hot studio lights and long days can leave your mouth dry, which makes lips stick to teeth and smiles look strained. Regular sips of water help.
Work with your make-up artist. Lip colour affects how white teeth appear. Shades with cool or blue undertones, such as berry and blue-based reds, tend to make teeth look brighter, while warm orange or yellow-toned shades can emphasise any yellowness.
Top up thoughtfully. Whitening results gradually fade over time. Your dentist can advise how often to top up with your trays, so you maintain your shade without overdoing it.
Final Thoughts
A great on-camera smile is one that looks like you: healthy, natural and confident. Whitening can help you get there, but the best results come from planning rather than last-minute fixes.
Start with a check-up, choose a realistic shade, give yourself plenty of time before important bookings and steer clear of risky shortcuts. With the right approach, you’ll walk onto set knowing your smile is ready for its close-up.